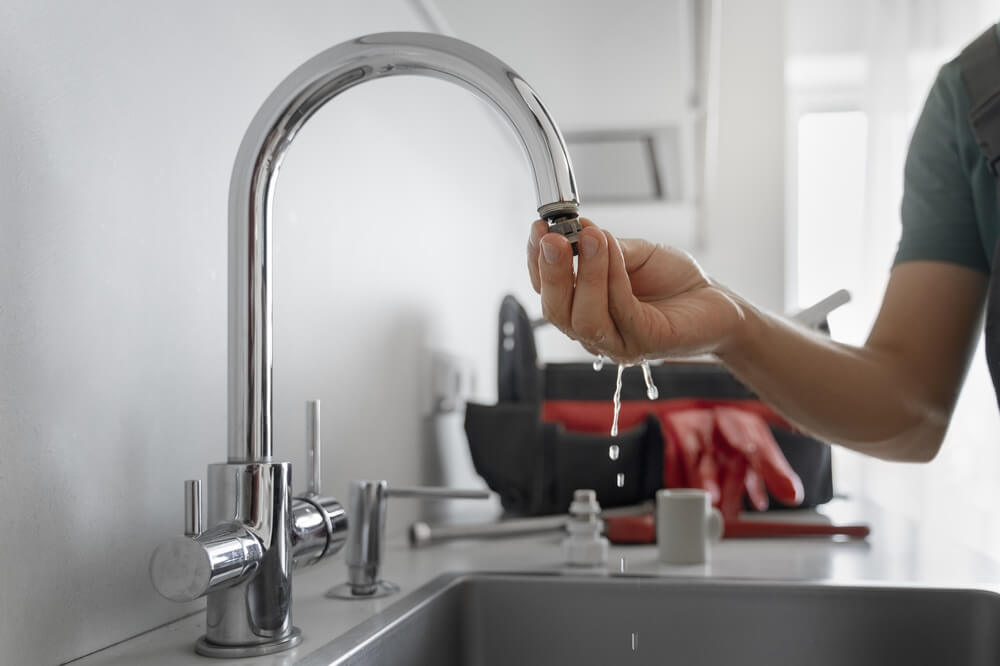
A leaky faucet is a common household issue that wastes water, increases utility bills, and can lead to bigger plumbing problems if ignored. Fixing it may seem daunting, but with the right tools and guidance, it’s a manageable task for anyone willing to try DIY plumbing repairs.
Here’s a step-by-step guide that outlines practical, straightforward instructions to resolve the issue effectively, saving both time and money while ensuring the faucet functions properly.
Table of Contents
Key Takeaways
✔ Preparing the right tools and materials ensures an efficient and hassle-free repair process for a leaky faucet. ✔ Turning off the water supply prevents spills and creates a safe environment for DIY plumbing repairs. ✔ Disassembling the faucet carefully reveals the source of the leak and avoids damaging other components. ✔ Replacing worn or damaged parts like washers, O-rings, or cartridges restores the faucet’s functionality and prevents further leaks. ✔ Reassembling the faucet correctly ensures all components fit securely and operate without issues. ✔ Turning the water supply back on and testing confirms the repair was successful and highlights any remaining concerns. ✔ Regular maintenance and mindful practices can help prevent future faucet leaks and prolong the fixture’s lifespan. |
1. Prepare to Fix the Leak
Fixing a leaky faucet starts with preparation, ensuring the necessary tools and materials are ready for the task. Preparation prevents interruptions and makes the repair process more efficient. Gathering the right supplies is key to successful and smooth DIY plumbing repairs.
What Is Needed
- Adjustable Wrench: An adjustable wrench is essential for loosening or tightening nuts and bolts. It provides a firm grip on faucet components of varying sizes.
- Replacement Parts: Common items include washers, O-rings, or a cartridge. Ensuring these parts match the faucet model prevents unnecessary complications.
- Plumber’s Tape: This tape seals threaded connections and prevents leaks from forming. It’s a simple but effective tool for any plumbing repair.
What to Do
- Inspect the Faucet: Before starting, examine the faucet for visible wear. Identifying damaged parts early helps determine the specific replacements needed.
- Turn Off the Water Supply: Locate and close the shutoff valves under the sink. This prevents water spills and ensures safe working conditions.
- Set Up Workspace: Place a towel or bucket under the sink to catch drips. This keeps the area clean and reduces cleanup time after the repair.
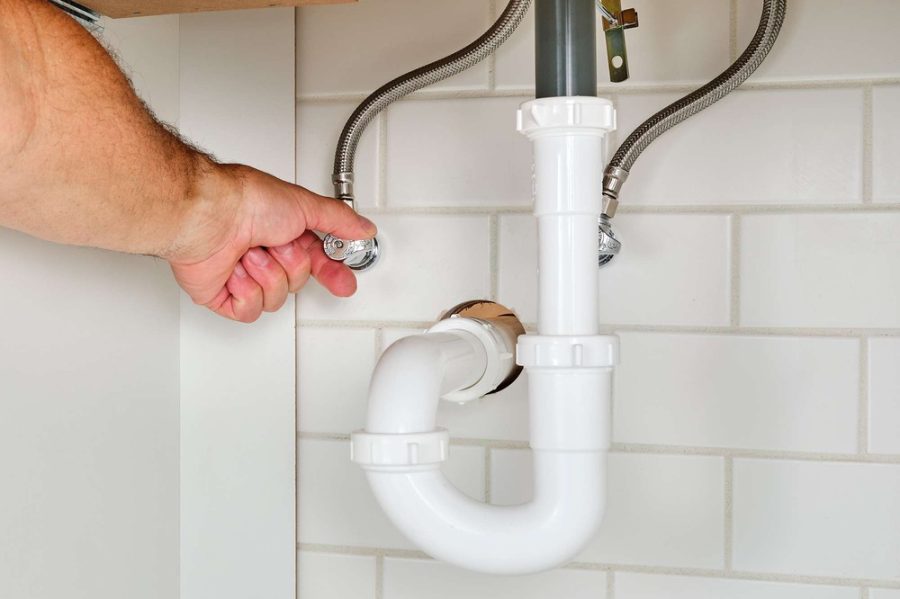
2. Turn Off the Water Supply
To safely fix a leaky faucet, the water supply must be turned off before starting the repair. This step prevents unexpected water spills, ensuring a smooth and controlled process. A properly shut-off water source creates a safe environment for DIY plumbing repairs.
What Is Needed
- Knowledge of Valve Location: Locate the shutoff valves under the sink or near the main water supply. Identifying these valves beforehand avoids delays during the repair.
- Towels or Rags: Use towels to absorb any residual water after turning off the supply. This minimizes mess and keeps the workspace dry.
- Bucket or Container: Place a bucket under the faucet to catch any drips. It ensures a clean, organized workspace.
What to Do
- Locate the Valves: Find the water shutoff valves under the sink or near the main line. Valves are usually round or lever-shaped.
- Turn Off the Valves: Twist the valves clockwise until they are fully closed. This ensures no water flows to the faucet during the repair.
- Release Remaining Water: Open the faucet to drain any water left in the pipes. This clears the system and makes disassembly easier. Draining your plumbing system follows long and crucial instructions to ensure an effective process.
3. Disassemble the Faucet
Disassembling the faucet reveals the source of the leak, allowing for targeted repairs. Each type of faucet—compression, cartridge, ceramic disk, or ball—has unique components that may require attention. Taking apart the faucet carefully ensures no damage occurs to other parts.
What Is Needed
- Screwdriver Set: Use a matching screwdriver to remove screws without stripping them. This prevents damage to the faucet.
- Allen Wrench: Some faucets require an Allen wrench for removing set screws. Having the correct size ensures a secure grip.
- Small Tray for Parts: Use a tray or bowl to organize removed screws and components. This prevents losing important pieces during the repair.
What to Do
- Remove the Handle: Use the appropriate tool to loosen and remove the handle. This provides access to the internal components.
- Access the Valve: Carefully remove the valve cover or cap using the screwdriver or wrench. This exposes the washer, O-ring, or cartridge.
- Inspect Components: Examine the removed parts for visible wear, cracks, or other damage. Identifying the problem ensures the correct part is replaced.
4. Replace the Faulty Components
Replacing damaged parts is the most crucial step in fixing a leaky faucet. Common culprits include worn washers, O-rings, or cartridges. Correctly replacing these components restores the faucet’s functionality and prevents further leaks.
What Is Needed
- Exact Replacement Parts: Ensure washers, O-rings, or cartridges match the faucet model. Incorrect parts can cause additional leaks.
- Lubricant for O-Rings: Use a plumber’s silicone-based lubricant to ease installation and prevent wear. Proper lubrication improves the part’s lifespan.
- Cleaning Brush or Cloth: Clean internal faucet components before installing replacements. This removes debris and ensures a proper seal.
What to Do
- Remove Old Parts: Carefully take out the damaged washer, O-ring, or cartridge. Note the orientation to ensure correct placement of the new part.
- Install the Replacement: Insert the new part into its designated spot, aligning it correctly. Double-check that it fits snugly.
- Secure the Component: Reattach any screws, caps, or valves to secure the replacement in place. Avoid overtightening to prevent damage.
5. Reassemble the Faucet
Reassembling the faucet ensures all components are in their correct positions. Proper assembly prevents leaks and restores normal faucet operation. This step requires attention to detail to avoid missing any critical parts.
What Is Needed
- Faucet Diagram or Manual: Refer to the faucet’s diagram for guidance on correct reassembly. A manual reduces the chances of errors.
- Plumber’s Tape: Wrap plumber’s tape around threaded connections. This provides an additional seal to prevent leaks.
- Soft Cloth: Use a soft cloth to clean parts before reassembly. Removing debris ensures components fit together properly.
What to Do
- Reattach the Handle: Start by placing the handle back onto the faucet body. Secure it with screws using the correct tool.
- Replace Valve Components: Insert the valve or cartridge back into the faucet body. Ensure it is seated properly before tightening.
- Test the Assembly: Check that all parts are secure and aligned. Look for gaps or loose connections before proceeding.
6. Turn On the Water Supply and Test
Turning the water back on and testing the faucet ensures the repair was successful. Observing water flow and checking for leaks confirms the issue has been resolved. Testing also allows adjustments to be made if needed.
What Is Needed
- Access to Shutoff Valves: Ensure the shutoff valves are easily reachable. Quick access helps control water flow during testing.
- Dry Cloth or Paper Towels: Use a dry cloth to check for drips around the faucet. This identifies any remaining leaks.
- Watch or Timer: Monitor the faucet for a few minutes to ensure no delayed drips occur. Time-based observation is essential for accuracy.
What to Do
- Turn On the Valves: Slowly twist the valves counterclockwise to restore water flow. Gradual opening prevents sudden pressure surges.
- Inspect the Faucet: Observe the faucet closely for any drips or leaks. Tighten connections if necessary.
- Test Water Flow: Run the faucet for several minutes to confirm consistent operation. Ensure no unusual noises or irregularities occur.
Common Reasons Faucets Leak and How to Address Them
A leaky faucet can stem from various issues, many of which are simple to diagnose and fix. Understanding the underlying cause helps homeowners target their DIY plumbing repairs effectively. Below are six distinct and common causes of faucet leaks, each requiring specific solutions.
1. Worn-Out Washers
Washers are crucial components in compression faucets, creating a seal to prevent water from leaking. Over time, regular use can cause washers to wear out, crack, or loosen, leading to a leaky faucet. Washers are prone to friction and must be replaced with the correct size and type to restore functionality. Using high-quality washers reduces the likelihood of repeated leaks.
2. Damaged O-Rings
O-rings are small but essential parts that ensure a watertight seal around the faucet handle. These rings can deteriorate due to prolonged use, hard water, or improper installation. A damaged O-ring often results in leaks near the handle or base of the faucet. Replacing the worn O-ring with a properly lubricated one is a straightforward and cost-effective fix.
3. Corroded Valve Seats
The valve seat connects the faucet to the spout and can corrode over time due to sediment buildup or mineral deposits. Corrosion prevents the valve seat from sealing properly, causing leaks around the spout area. Regular cleaning and inspection of the valve seat can prevent this issue, but severe corrosion may require professional replacement.
4. Loose or Faulty Connections
Loose or misaligned components, such as nuts, screws, or fittings, can cause water to leak from different parts of the faucet. Vibrations or regular use may loosen these connections over time. Inspecting and tightening these connections is a quick and effective solution. In cases where parts are damaged, replacing them ensures a long-lasting fix for a leaky faucet.
5. Cracked or Worn Cartridges
Cartridge faucets rely on cartridges to control water flow and temperature. A cracked or worn cartridge can result in inconsistent water pressure or leaks. This problem is more common in areas with high water pressure or hard water. Replacing the damaged cartridge with a manufacturer-recommended part resolves this issue effectively.
6. High Water Pressure
Excessively high water pressure can strain faucet components, leading to leaks over time. This often manifests as sporadic dripping or leaks around seals and connections. Testing the water pressure with a gauge and installing a pressure regulator, if necessary, can prevent further damage to the faucet. Lowering the pressure also protects the plumbing system overall.

How to Prevent Faucet Leaks Long-Term
Hidden leaks are driving demand for plumbing solutions, contributing to a 7.9% annual growth in the plumbing fixture market, projected to hit $132.97 billion by 2027. While fixing a leaky faucet resolves the immediate issue, taking proactive steps can prevent future leaks and prolong the life of the fixture. Regular maintenance and mindful practices reduce wear and tear, ensuring the faucet remains in good condition. Below are six effective ways to avoid recurring faucet problems.
1. Perform Regular Inspections
Regularly inspecting faucet components helps identify potential issues before they escalate. Check for loose handles, worn seals, or signs of mineral buildup that could lead to leaks. Early detection allows for minor DIY plumbing repairs, saving time and preventing costly damage. Inspecting every few months is a simple yet effective habit for faucet maintenance.
2. Use High-Quality Replacement Parts
Opting for high-quality washers, O-rings, and cartridges during repairs significantly reduces the risk of future leaks. Inferior parts may wear out faster, requiring frequent replacements. Investing in durable, manufacturer-recommended components ensures a tighter seal and longer-lasting repairs. Proper parts are especially important for high-use faucets.
3. Address Water Pressure Issues
Excessive water pressure can strain faucet components, leading to leaks or damage over time. Testing water pressure with a pressure gauge can help determine if adjustments are necessary. Installing a pressure regulator can keep pressure at an optimal level, protecting the faucet and other plumbing fixtures. Lowering water pressure is a proactive step to prevent unnecessary wear.
4. Avoid Over-Tightening Components
Over-tightening screws, nuts, or connections during installation or repairs can damage threads or seals, increasing the likelihood of leaks. Tighten components until they are secure but not overly rigid. Using tools like a torque wrench ensures precision, especially during DIY plumbing repairs. Gentle handling extends the lifespan of the faucet.
5. Clean Faucets and Aerators Regularly
Mineral deposits and debris can accumulate in faucets and aerators, obstructing water flow and causing leaks. Cleaning aerators with vinegar or a descaling solution every few months prevents blockages. Wiping the faucet exterior with a soft cloth keeps it free of grime and ensures all components function properly. Regular cleaning is an easy preventive measure.
6. Avoid Harsh Cleaning Products
Using harsh chemical cleaners can degrade faucet finishes and damage internal components like O-rings or seals. Choose mild, non-abrasive cleaning solutions to preserve the faucet’s integrity. Eco-friendly or vinegar-based cleaners are safe and effective options. Protecting the faucet from corrosive substances reduces the chance of a leaky faucet.
Frequently Asked Questions (FAQs)
Can a leaky faucet increase my water bill significantly?
Yes, even a slow-dripping faucet can waste a surprising amount of water over time. A single drip per second can add up to over 3,000 gallons of wasted water annually, significantly impacting utility bills. The financial and environmental costs make it essential to fix a leaky faucet as soon as possible. Addressing the problem promptly not only saves money but also conserves an important resource.
What should I do if the leak persists after replacing parts?
If the leak continues, it could indicate an issue with the installation or an overlooked component, such as the valve seat or supply line. Ensure that all parts are properly aligned, securely tightened, and free of debris. Persistent leaks may also stem from hidden plumbing problems, like corroded pipes or a cracked faucet body. In such cases, consulting a professional plumber can help diagnose and resolve the issue effectively.
Are all faucet repairs manageable for beginners?
Not all faucet repairs are suitable for those new to plumbing. Simple issues like replacing washers or O-rings are beginner-friendly, but complex problems such as corroded valve seats or internal faucet damage may require advanced tools and expertise. Attempting a repair without sufficient knowledge can worsen the problem or damage the faucet. For intricate repairs, it’s best to consult a licensed plumber to avoid further complications.
How can I tell if my faucet is too old to repair?
If the faucet has frequent leaks, extensive corrosion, or visible damage that impacts its function, it may be time for a replacement. Older faucets, especially those without modern cartridge systems, may not support easy repairs or replacement parts. Repeated fixes can also become more costly than installing a new, efficient model. Assessing the overall condition and repair history of the faucet helps determine if replacing it is the better option.
Can I fix a leaky outdoor faucet using the same methods?
Outdoor faucets, also known as hose bibs, can often be repaired using similar techniques, such as replacing washers or tightening connections. However, outdoor faucets are more exposed to weather-related wear and damage, which may require additional steps like checking for frozen or cracked pipes. Ensure the water supply to the outdoor faucet is turned off before repairs. Using weatherproof covers can also prevent future leaks by protecting the faucet from extreme temperatures.
Trust Expert Plumbing Repair Services by L&P Plumbing in Watertown, CT
For reliable plumbing repair services in Watertown, CT, trust the professionals at L&P Plumbing to handle all your needs with precision and care. Whether it’s fixing a leaky faucet, addressing water pressure issues, or tackling complex plumbing challenges, our experienced team ensures long-lasting solutions. Serving the Watertown community with a commitment to quality and customer satisfaction, L&P Plumbing delivers efficient, expert repairs that keep your plumbing system running smoothly.
Contact us today and experience top-notch service that gets the job done right.